
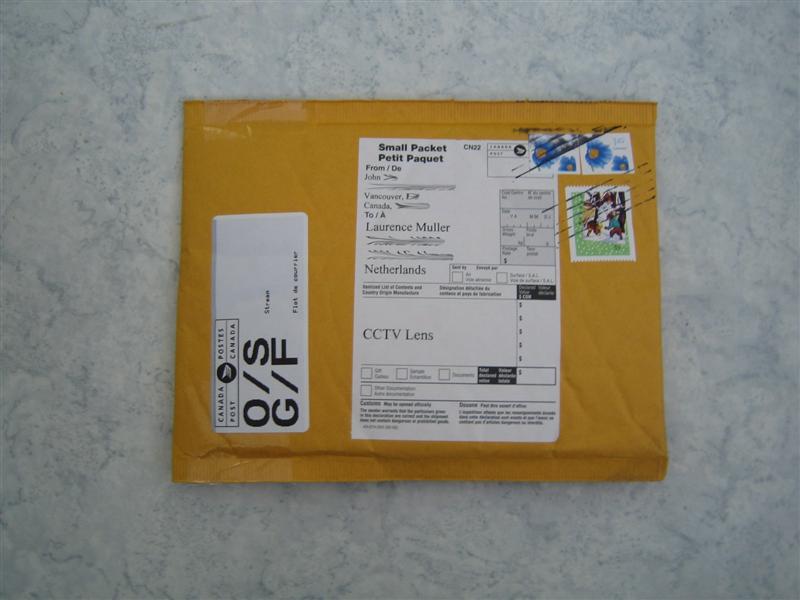
For the past several days, I have received parts for constructing my touchscreen prototype which is based on Frustrated Total Internal Reflection (FTIR).
Today I will cover how the lens of the Philips webcam can be dismounted and replaced by one without an infrared (IR) blocking filter.
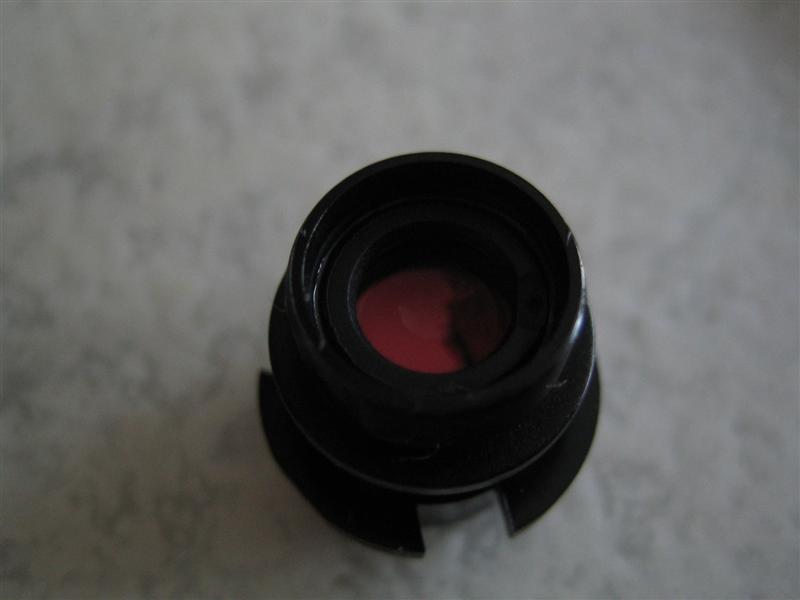
Most consumer webcams contain an IR filter which will prevent IR light coming through. This is done to prevent image distortion. However in our case we want to capture the IR light. On some webcams it’s possible to remove the IR filter (which is behind the lens and often has a red colour). With our current webcam from Philips this isn’t possible. Therefor a new camera lens has been ordered on eBay.
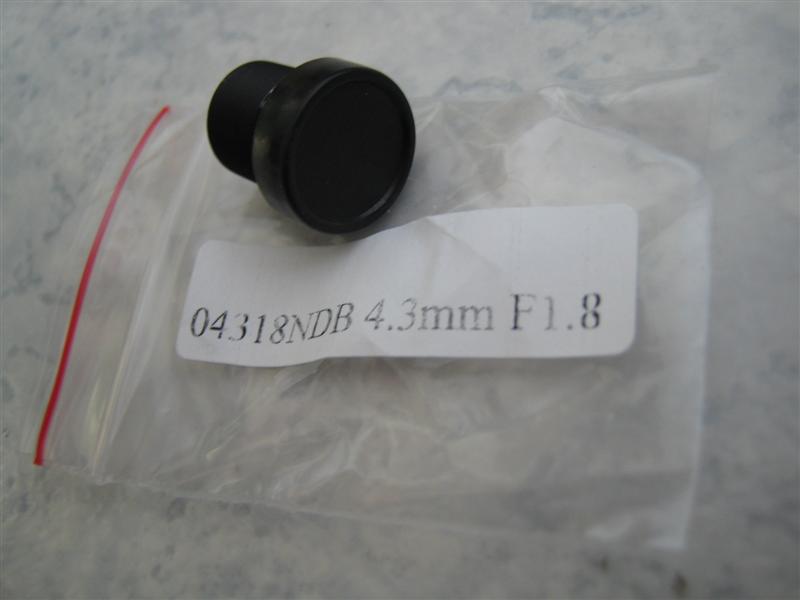
It was called “4.3MM 4.3 MM CCTV Camera board Lens IR DVR NEW”
Some specifications of the new camera lens:
- Glass Lens
- Focal length: 4.3 mm
- Aperture F/1.8
- Image format 1/3 inch
- Angel of view 68°
- Mount M12 x P0.5
- Size 14.75mm (L) x 14mm (D)
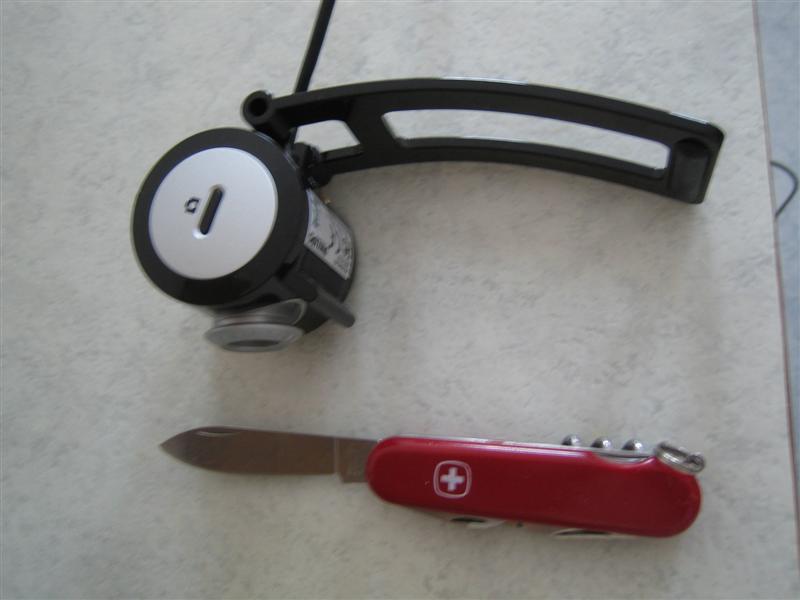
Needed equipment:
- A screwdriver or a swiss knife
- A steady hand
- Some patience
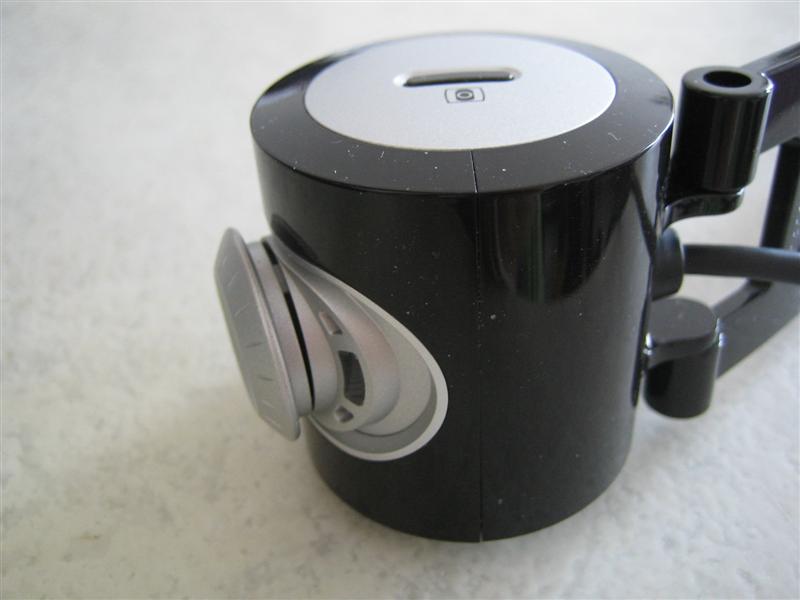
Step 1: Turn it
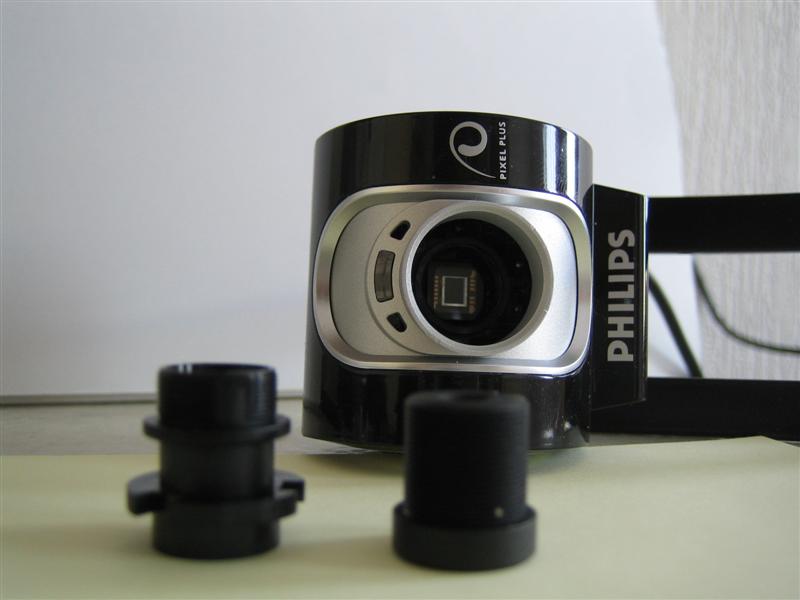
Because we don’t want to take the whole camera apart, we will start by removing the lens adjuster (normally used to focus manually).
First turn the lens adjuster counter clockwise untill it won’t go any further. If you feel like it’s being stuck, try a bit harder untill you have something similar as the image below:
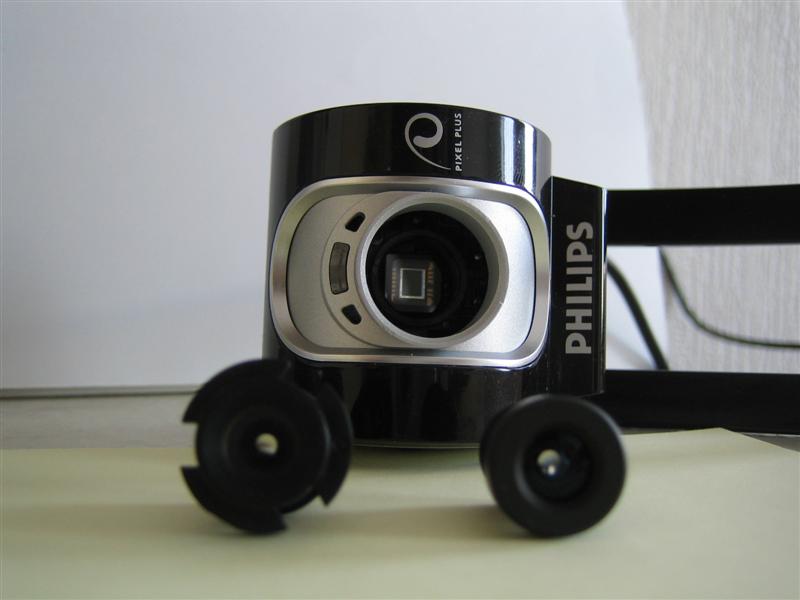
Step 2: Removing the lens adjuster.
Now there should be enough space to put a screwdriver in the gap.
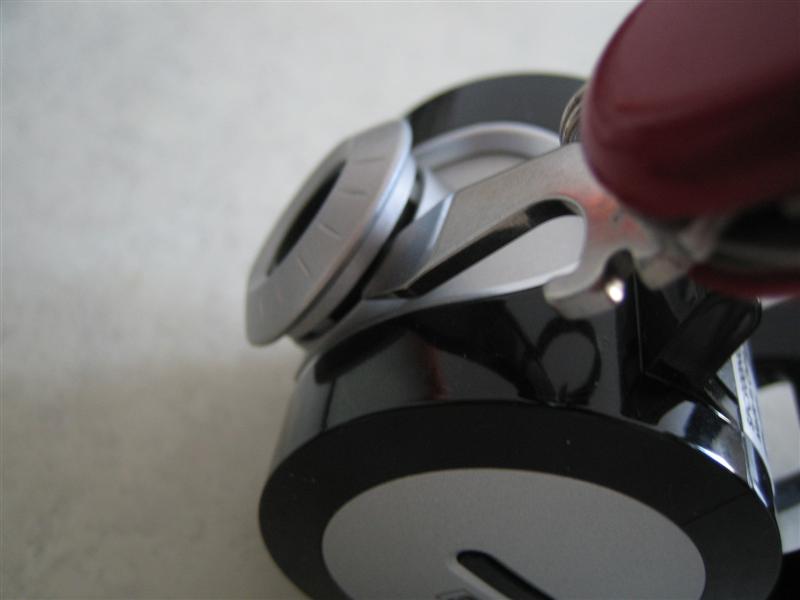
You should now be able to take the lens adjuster off. You could do it nice and gently, but in my case I broke a few parts of it :D. Not something to worry about though.
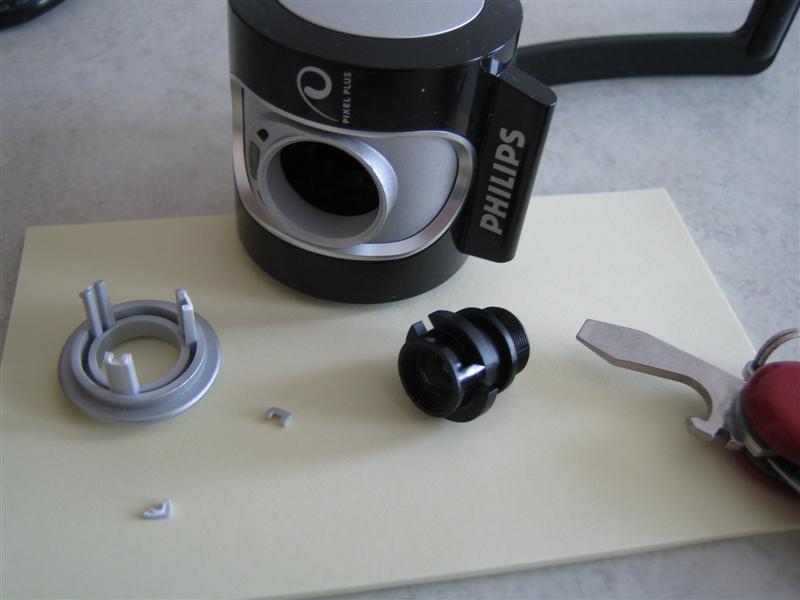
You can cleary see the CCD sensor:

Step 3: Mount the new lens.
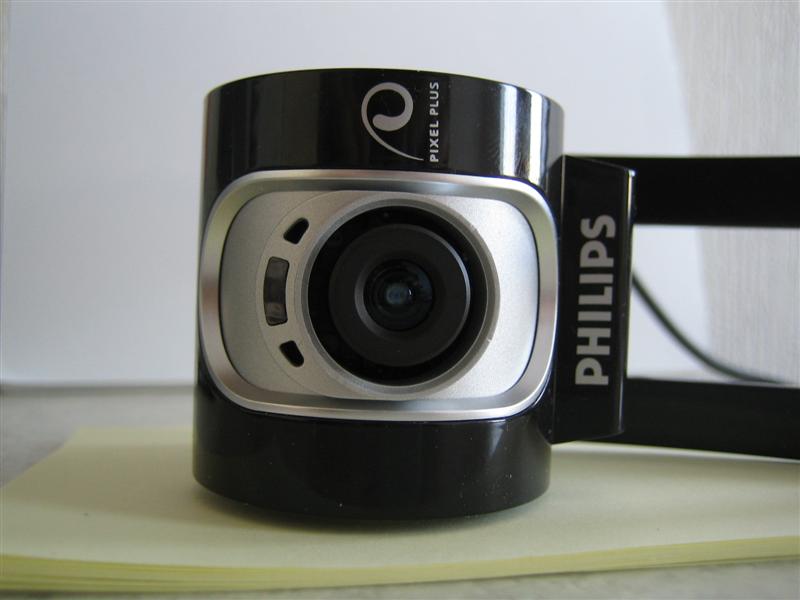
Finally you should be able to mount the new lens. This might be tricky if you got large fingers. You might want to use the lens adjuster as a tool to mount it.
Some extra images
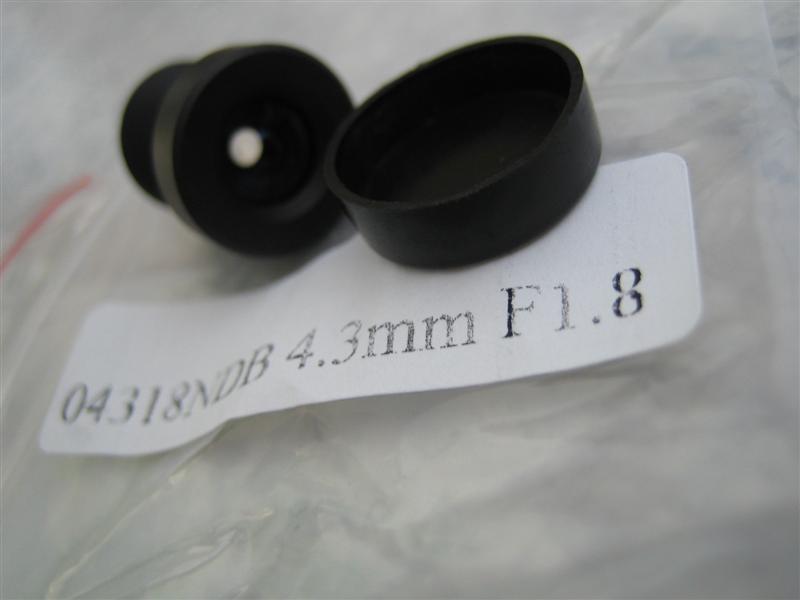
The old (left) and the new (right) lens:
The IR filter on the old lens:
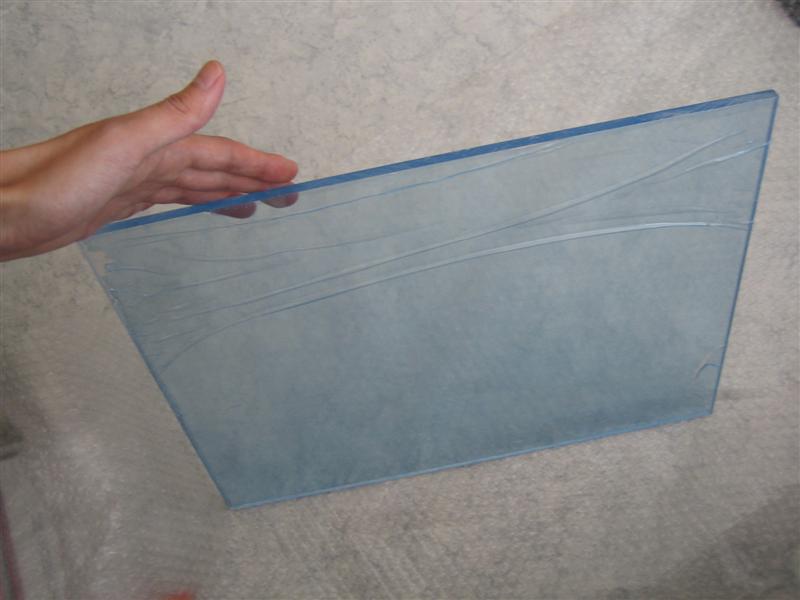
The next blog entry will be about how to polish the acrylic plate.


7 responses
I wonder whether you have removed the light of the camera and whether you have added any filter for new lens to block visible light.Could you give me a more detail illustration? Thank you !
(1) I’m guessing you’re talking about the little white LED. I didn’t removed it, instead I covered it with a piece of ductape. (2) Yes, I added a (bandpass) filter to block out visible light.
Hi, I’ve got a question regarding the lens - What exactly is a bandpass filter and how can it be used on the lens so only IR will pass into the lens? Do you mean to a seperate lens that can be attached as a filter? Or is it some kind of material such as aluminium or plastic? Thanks in advance, Itamar.
A tip we used instead of a filter- We took a color 100 ASA film, exposed it to flaurecent light for 5 seconds, then developed it and used the Negative!
The 4.3mm IR was used at most project. http://cgi.ebay.com/4-3MM-4-3-MM-CCTV-Camera-board-Lens-IR-multi-touch-new_W0QQitemZ270221062220QQihZ017QQcategoryZ14957QQtcZphotoQQcmdZViewItemQQ_trksidZp1742.m153.l1262 If you need wider view, this one also work with Philips SPC900NC and wider view. http://cgi.ebay.com/1-2-inch-wide-angle-CCTV-board-Lens-for-dome-etc-new_W0QQitemZ270214446984QQihZ017QQcategoryZ48637QQtcZphotoQQcmdZViewItem Please feel free to contact me if you have questions. Thanks,
Muller, This is a fantastic read. Very detailed with good photos. Thanks and keep them coming!
plz help i got a problem ;when i launch configapp.exe its says “No such interface supported “in a small window called “couldn’t find iamstreamconfig interface” thx … looking forward for any answer!