Hi, I'm Laurence Muller 🇳🇱
Software Engineer
A software engineer who is passionate about mobile apps, game development and data visualizations.
I'm a former Fellow of the SDR Lab at Harvard University (SEAS) and the founder of Epic Windmill, a software company that develops apps and games for mobile devices.

Previous posts
A Deepdive Debugging WebP Image Support on Android
Whether it’s the app’s stability, a smoother user experience or better app performance (e.g. reduced loading times), we’re always looking for ways ...
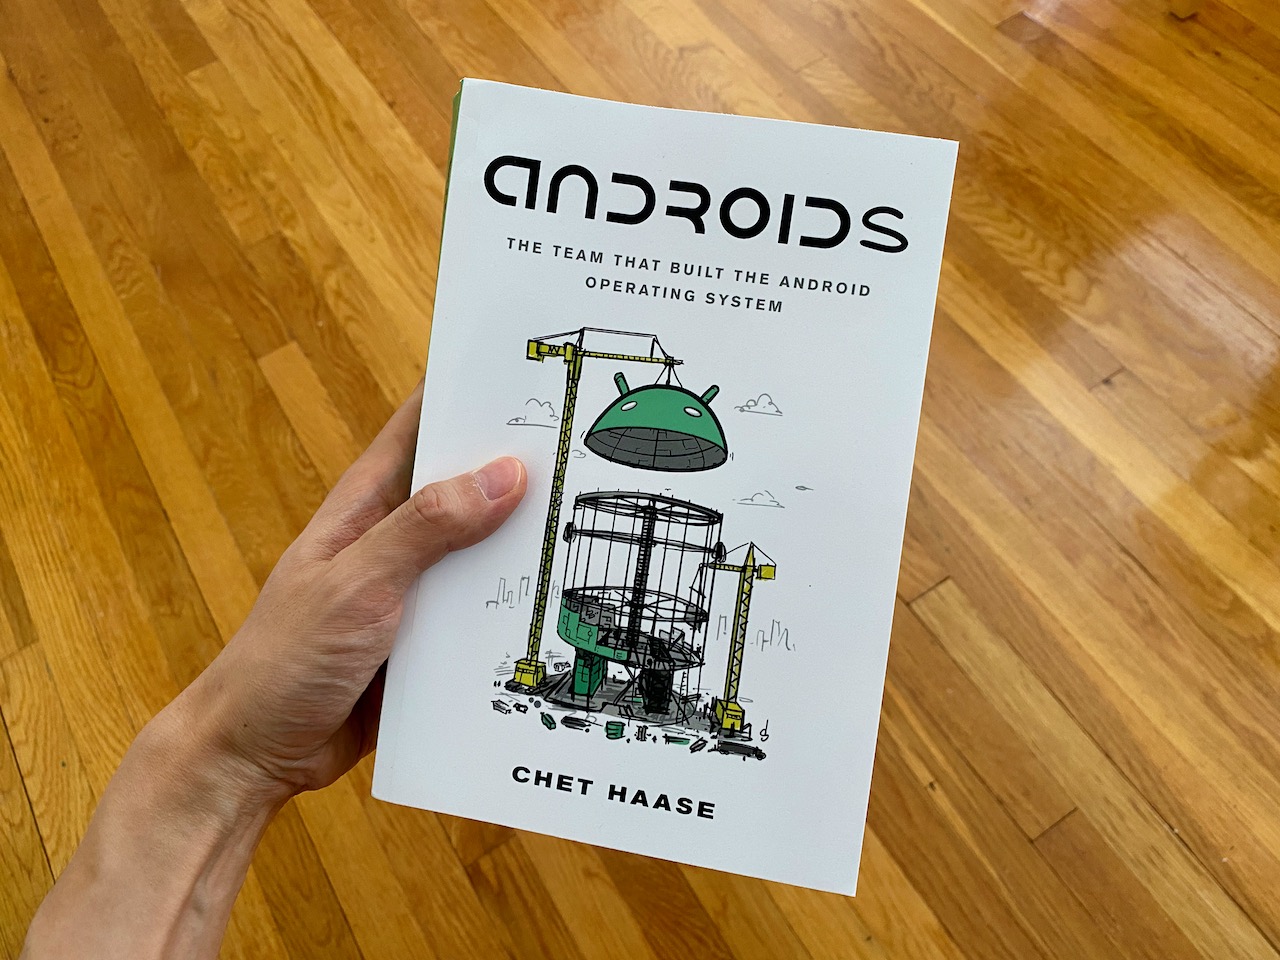
My mobile journey
If you are a mobile developer and haven’t read Chet Haase’s latest book “Androids: The team that built the Android operating system” go read it now...
Inspecting Network Traffic of any Android App
Like to see what your favorite Android app is doing ? I wrote an article of how you can inspect the network traffic of an app using the Android emu...
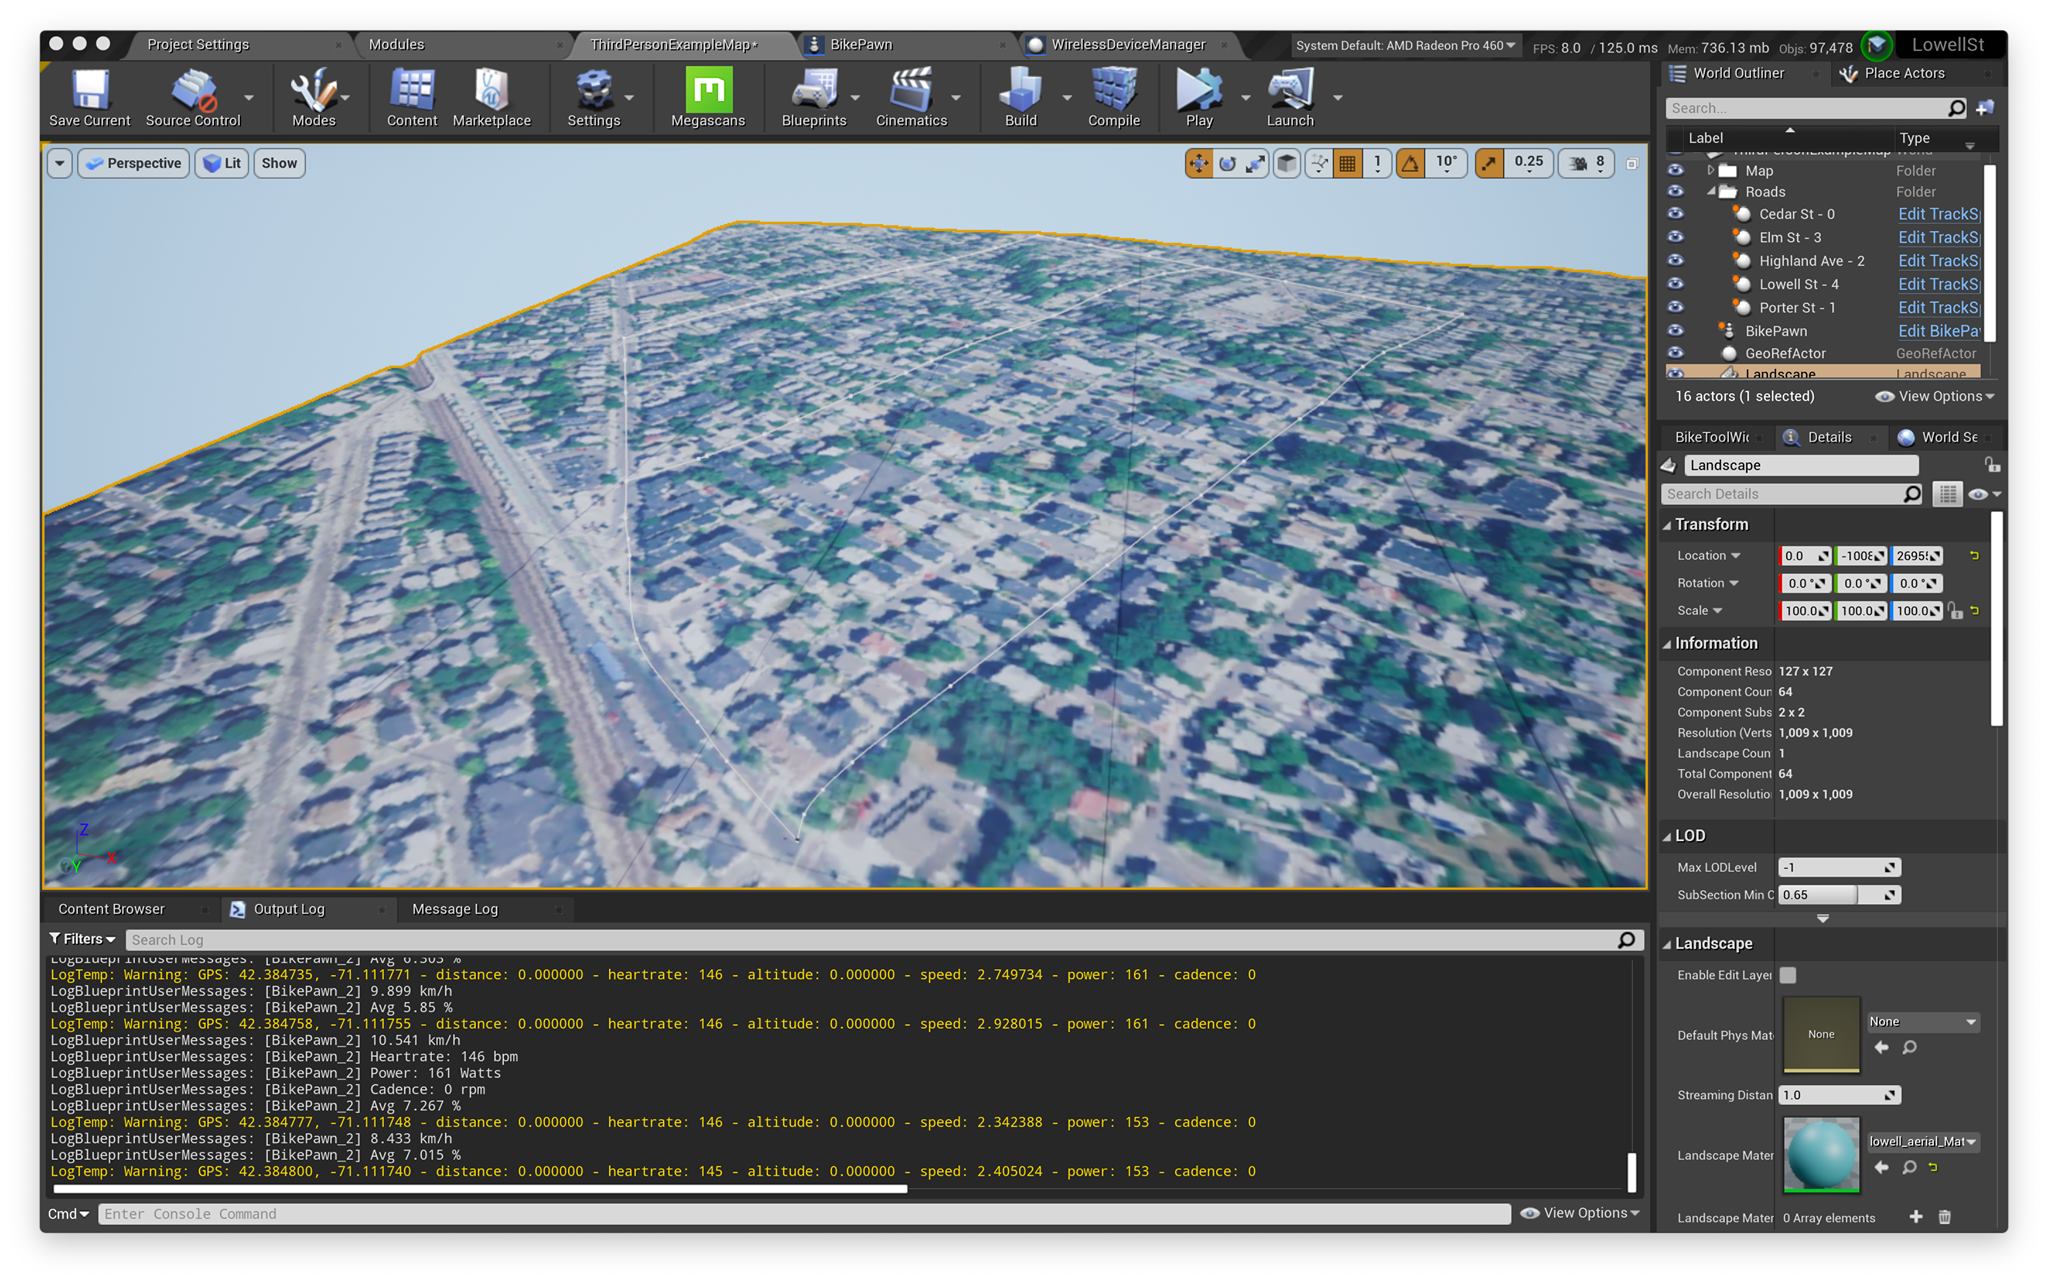
Creating my own Cycling Trainer App
I’m a big fan of Zwift, it’s a virtual cycling app that allows you to train and compete online in a virtual world. I started training indoors in N...

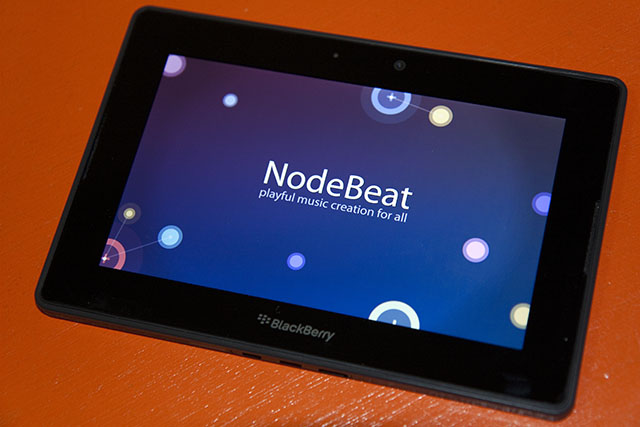
NodeBeat featured on the BlackBerry Dev blog
Interested to read how we (me and Seth) ported NodeBeat to the BlackBerry PlayBook platform? The BlackBerry Developer Blog wrote an article about ...
PlayBook add-on (ofxQNX)
After receiving my BlackBerry PlayBook through the developer offer in March, I started to think of the possibility of porting NodeBeat to the PlayB...

Rewriting and porting fIRC
Late 2008 I created my first Android application (fIRC) after obtaining the T-Mobile G1. The project was an early attempt to master the Java progra...

Epic Windmill
It’s official now, I’m proud owner of my new startup company Epic Windmill. As this blog served as my online portfolio of research work I contribu...
NodeBeat, openFrameworks and Android
Last month we (Seth Sandler and yours truly) released the Android port of the popular iPhone/iPad music application NodeBeat. NodeBeat was created...

An introduction to emulation
In the early 90s I primarly used a Commodore 64 (C64) for gaming. As Santa never gave us a Nintendo, I used the C64 until the late 90s. At that poi...

Earth Friends, a social network visualization
Last week I blogged about a new project I was working on. For the past few days I went through the code again and decided to clean it up a bit for ...

Where are you?
Last weekend I’ve been working on a new project. Since I already had some experience generating KML files for use with Google Earth (wikileaks proj...

Wikileaks mirror spread
In my previous post I presented a visualization of the Wikileaks mirrors spread of December 8th. While it is interesting to see the spread of a ce...

Visualizing Wikileaks mirrors
For the past few weeks, Wikileaks has drawn a lot of attention from the media. Mostly because of the Cablegate. Whether Julian Assange should be c...

Research projects
Since my graduation back in 2008, I have been working on different research projects at universities. Some of them got published, others never left...

Kinect
Earlier this month Adafruit started a contest for the first person to hack the Kinect, Microsoft’s latest gadget for the XBOX 360. The contest was ...

Sparkon.net and ITS 2010
Sparkon Seth Sandler a good friend of mine, released his new website sparkon.net which is a website that he describes as “a social platform for ...

NEMO Science Center
The NEMO Science Center in Amsterdam is the largest science center in the Netherlands and is also the place where my previous thesis work is displa...