The FTIR prototype which I am building will be using an acrylic plate which will be mounted in a frame.
I tried to maintain the aspect ratio of a regular screen (4:3). The size of the plate is 41 x 31 cm and about 8 mm thick. The actual area which will be captured is 40 x 30 cm.
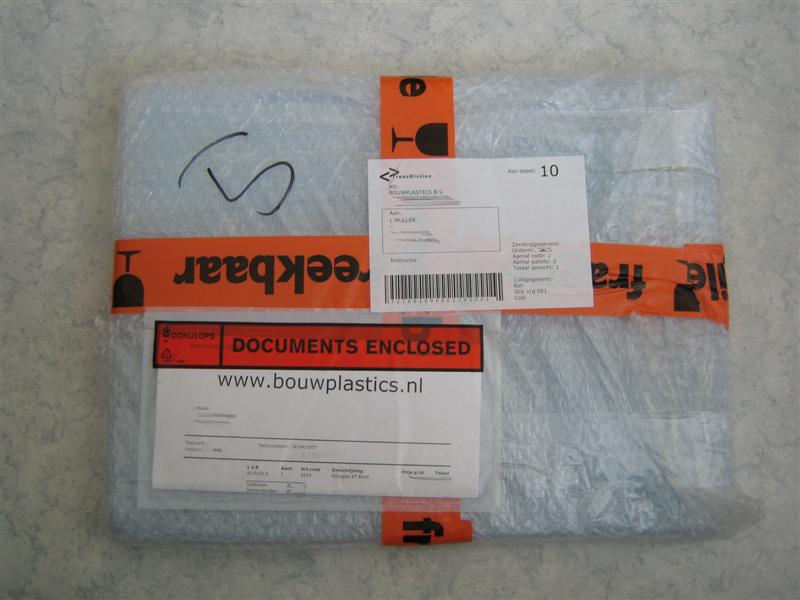
Two days after ordering the acrylic plate I received it in a nice package:
In the image below we can see the plate has been cut roughly.
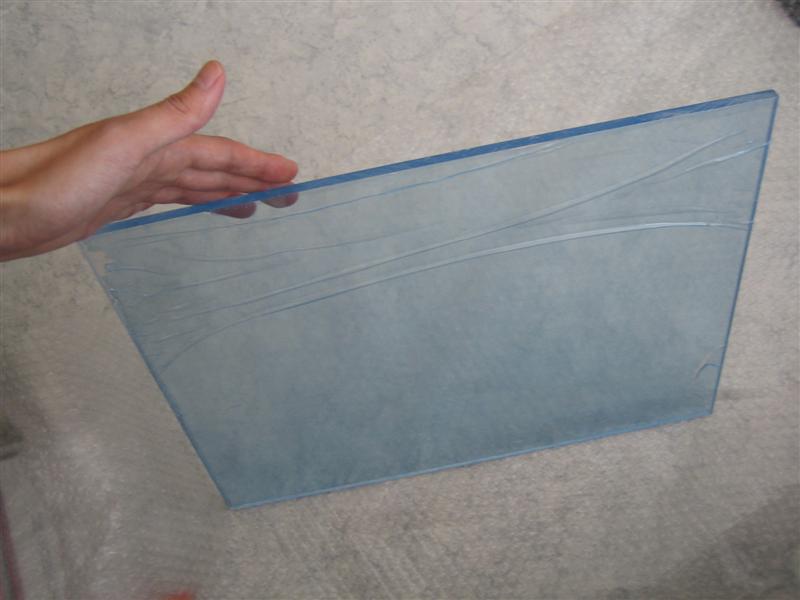
Because we want to beam IR light into the sides of the acrylic plate, it is necersaily to polish the sides.
Click the link below to continue reading about how to treat the acrylic plate.
Needed equipment:
- (Wet) sandpaper of the following grit sizes:
- P320 (I used Norton T223 / P320 / Very Fine)
- P800A (I used Auto-paper P800A / Super fine)
- P1200A (I used Auto-paper P1200A / Super fine)
- Brasso
- Old cloth
- Some old newspapers
- A bucket of water
- A lot of Patience! (Really!)
General hint:
If you order an acrylic plate, ask your supplier to finish off the edges as smooth as possible.
Polishing step by step
Depending on the state of the edges you should decide how many different types of sandpaper you want to use.
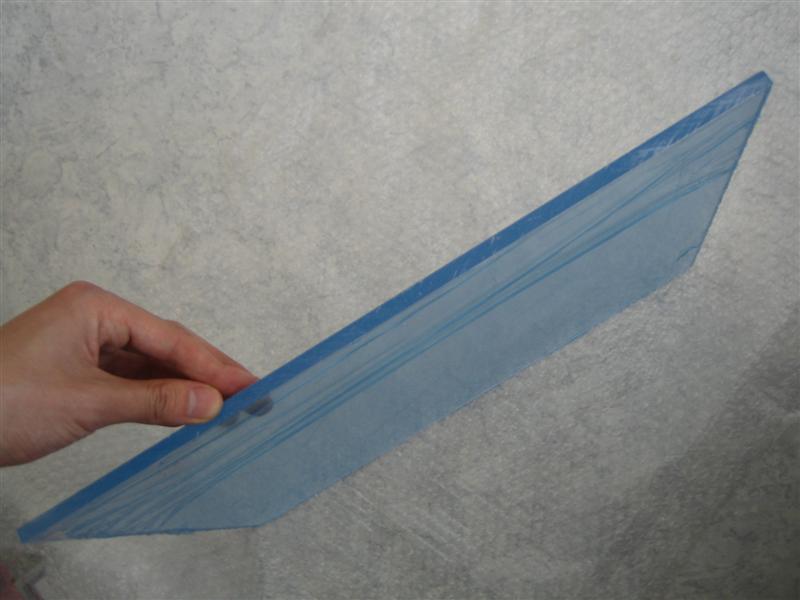
In my case I started with the P320. Since this is “wet” sandpaper you need to soak it in a bucket of water before you can use it! Continue polishing the edges until no scratches of the cutting machines are visible anymore.
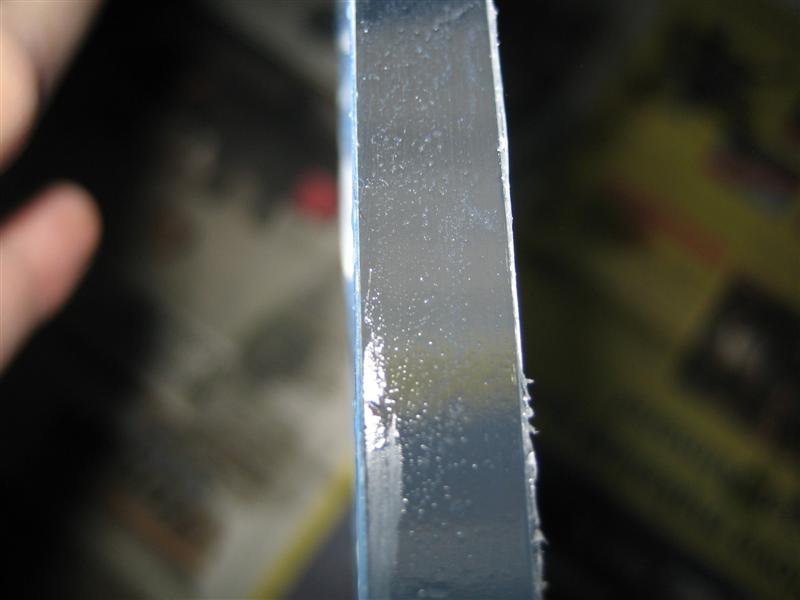
After a quick first polish with P320 it should look a bit like this:
.jpg)
.jpg)
If (almost) no scratches are visible, continue using P800A
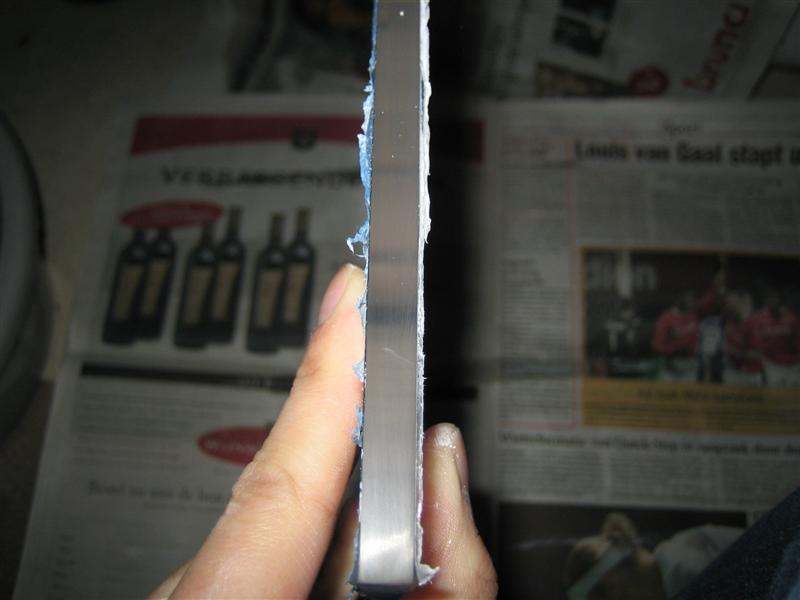
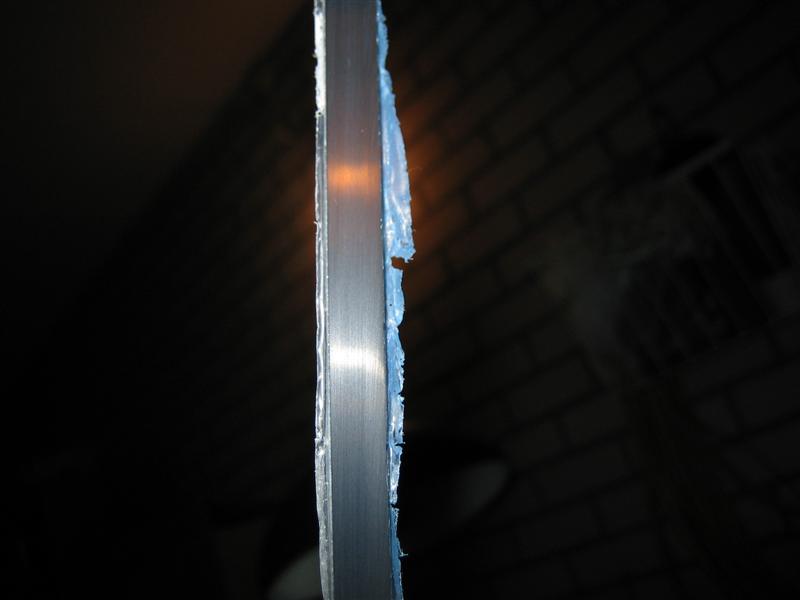
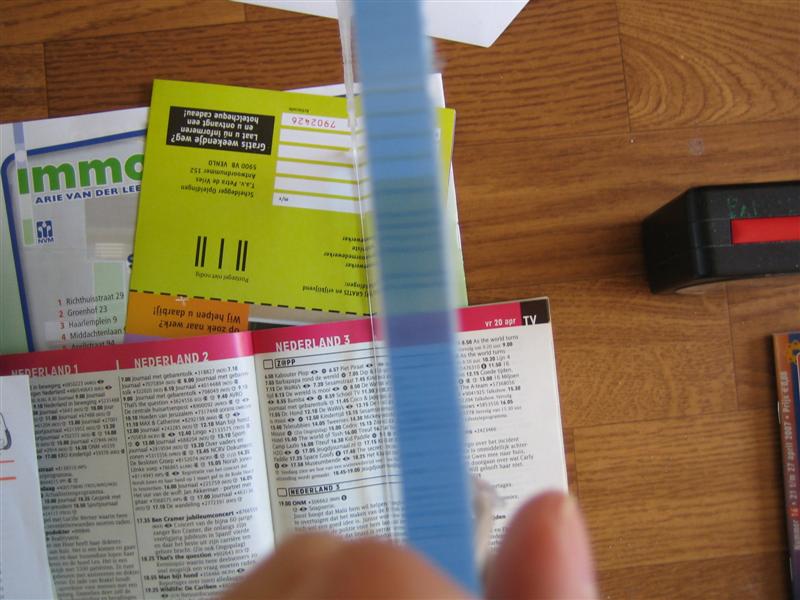
Just do the edges several times, after this continue with P1200A for a while
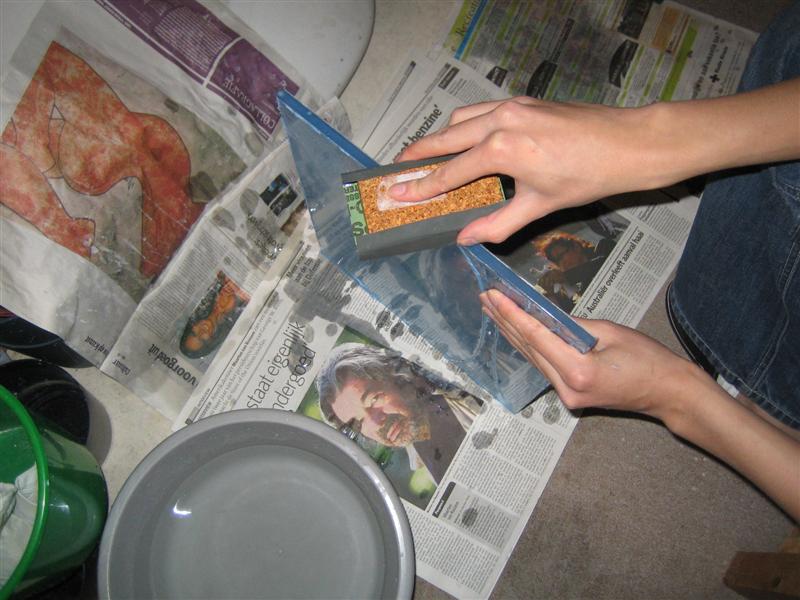
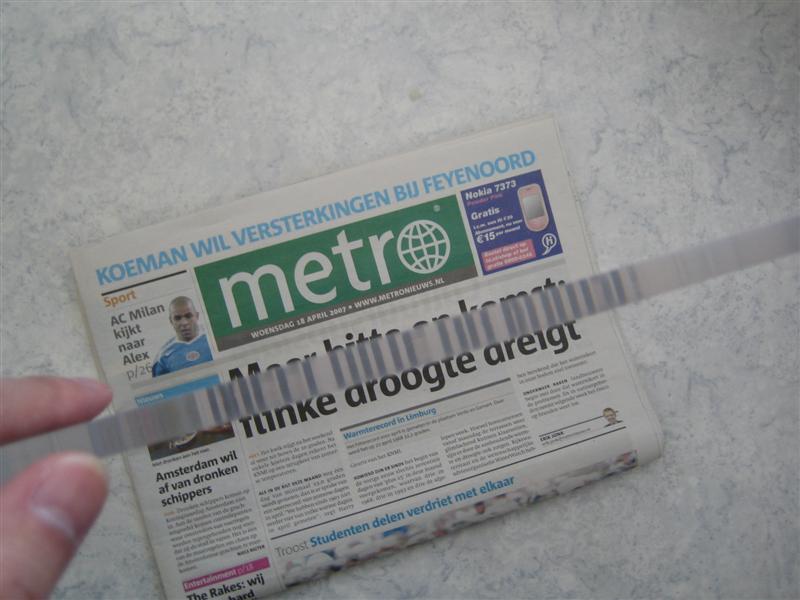
To make it all nice and shiny we use the good old Brasso:
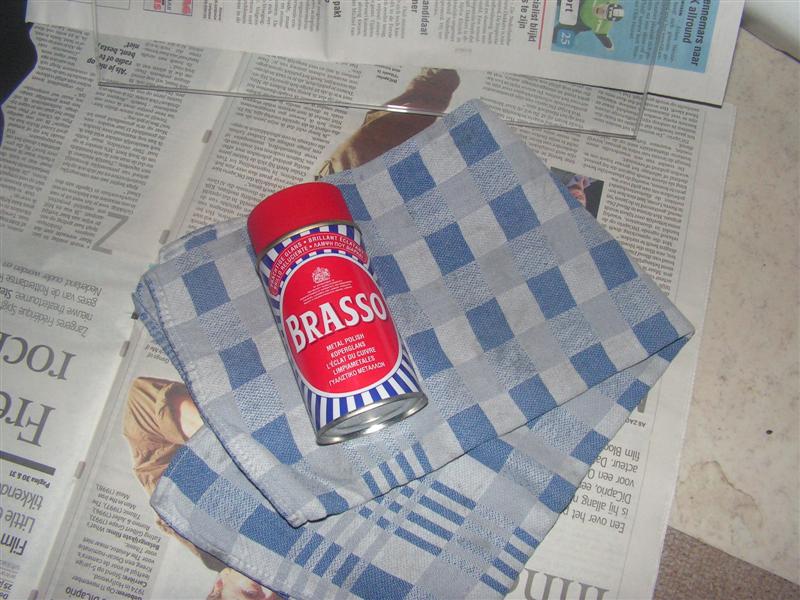
Pour some Brasso on a cloth and start wiping the edges.
After doing the sides multiple times, it is time to view the result:
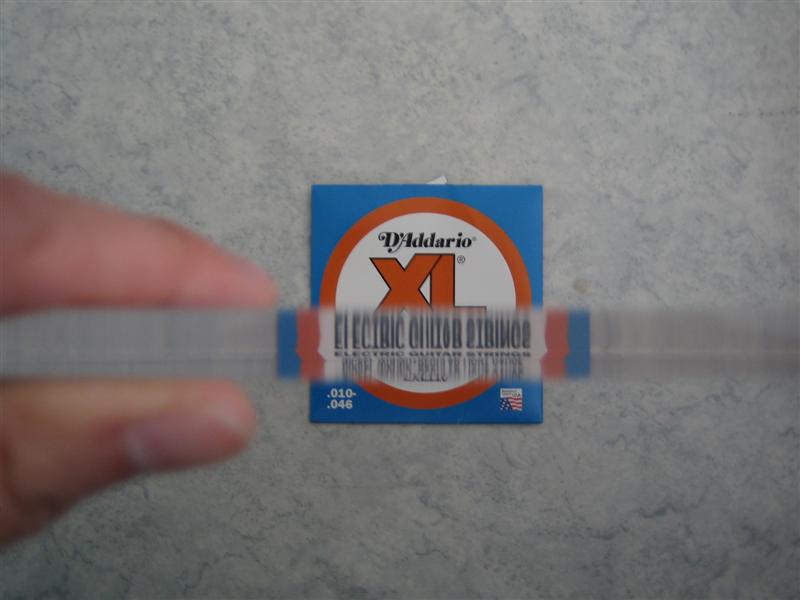
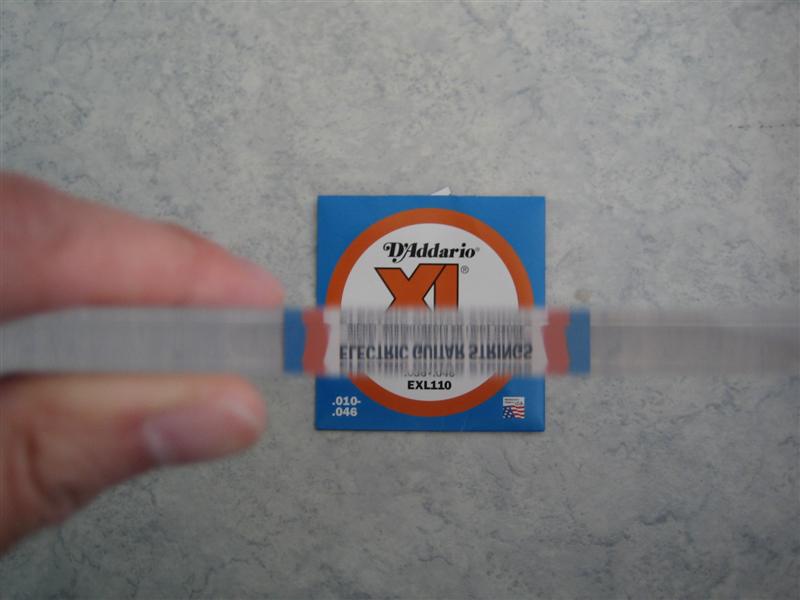
As an example object I took an old guitar string package. You should be able to see “Electric Guitar Strings” in it (a bit mirrored though).
Shipping + Lazyness = … !
In my case the local tool shop did not had acrylic plates which where thick enough (at max 4 mm, and I needed at least 8 mm), so I had to order it online. No big deal though. At the time of delivery no body was home, however it seems that the postman did not felt like returning for the second time, so he left the following note:
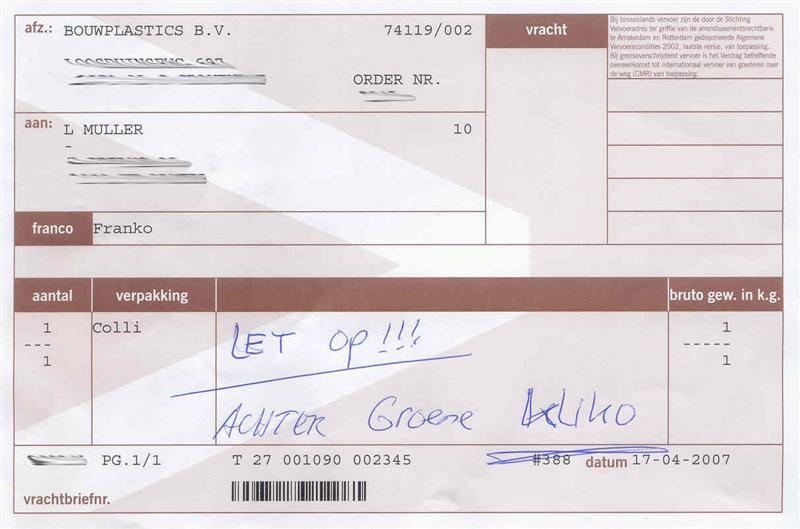
>_< Like wtf? He left it outside! Thank god my neighborhood is a safe place, it could easily have been stolen …
To be continued
If you made it to this state, your arm is probably hurting from polishing 😀 …
take a break and see you next time!


5 responses
were did you get to buy the acrylic? because i google’d it and i cant find it. also the software that i downloaded for here does not conect form each other.. like i open “osc” then your media application . and that is.. can you help me of what am i doing wrong?
I got the acrylic from a dutch webcompany: http://www.bouwplastics.nl/ To use osc with the flashapps: 1. start osc.exe (requires a configured config.xml) 2. start FLOsc (run.bat) (requires the latest java) 3. start any flash application. (requires flashplayer)
Another great way to polish acrylic is by using a torch… Leaves a smooth shiny surface if done properly and carefully…(try on scrap peces first to practice flame-polish)
I don’t have the sandpaper ATM, and sadly I cannot get any for the weekend. I do, however, have sanding sponges that are primarily used for drywall. Would those work?
That was interesting . I admire your quality that you put into your writing . Please do continue with more like this.